Chapter 2: Dismantle rear panel and remove wood panelling
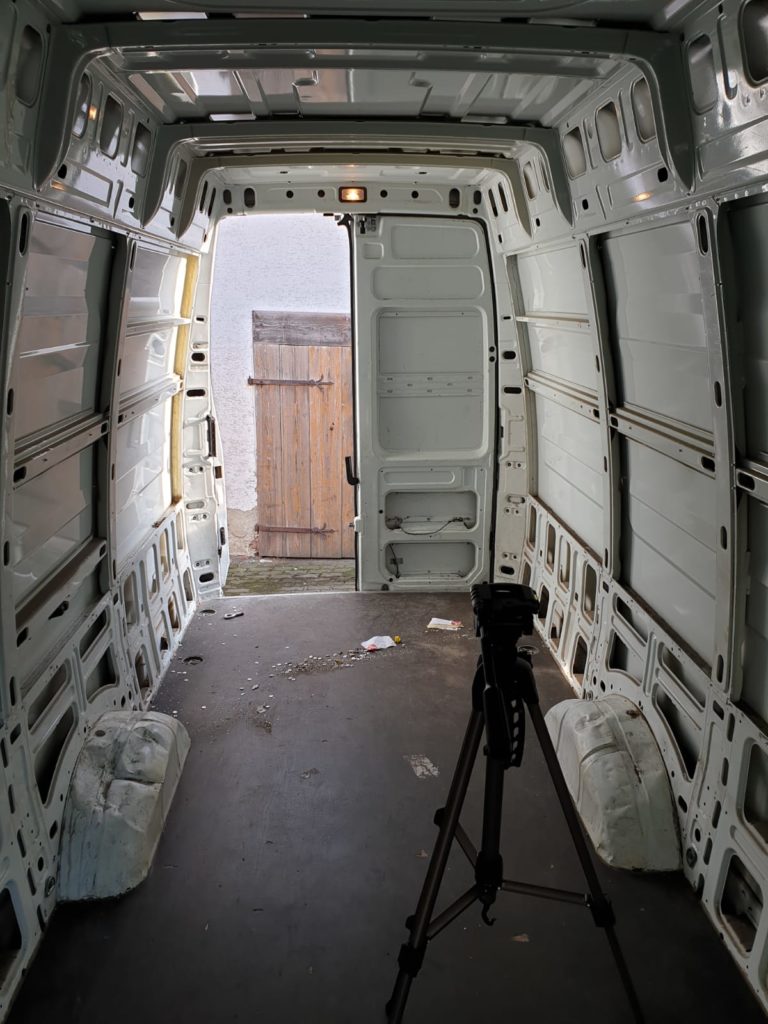
Before the actual camper conversion can start, we prepare the interior of the Iveco Daily for the layout of the conversion.
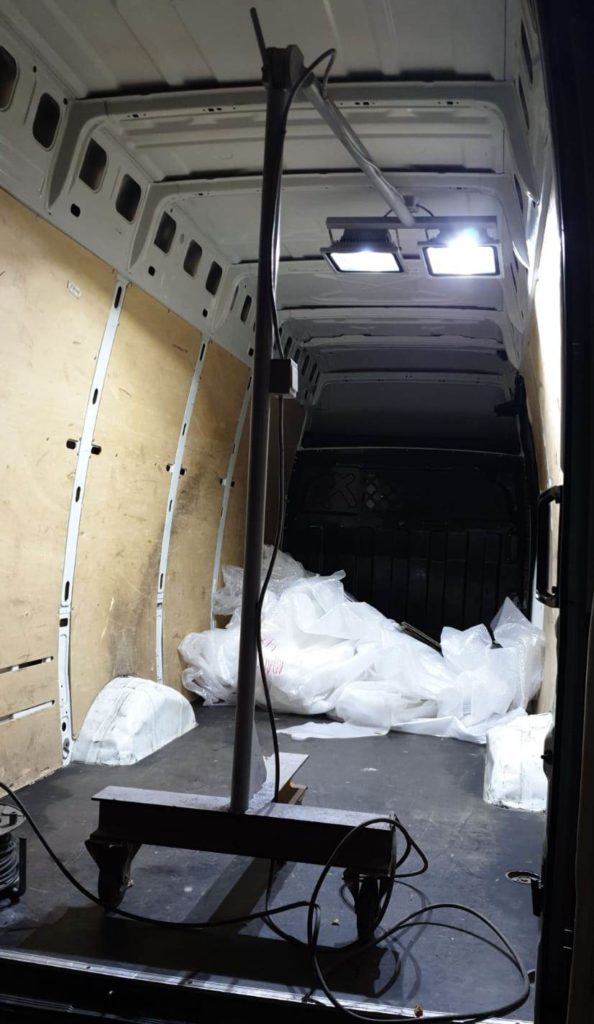
Plastic foils pile up in the front. Moreover, all walls are equipped with wooden side panels, which we have to remove for the armaflex insulation that will follow later.
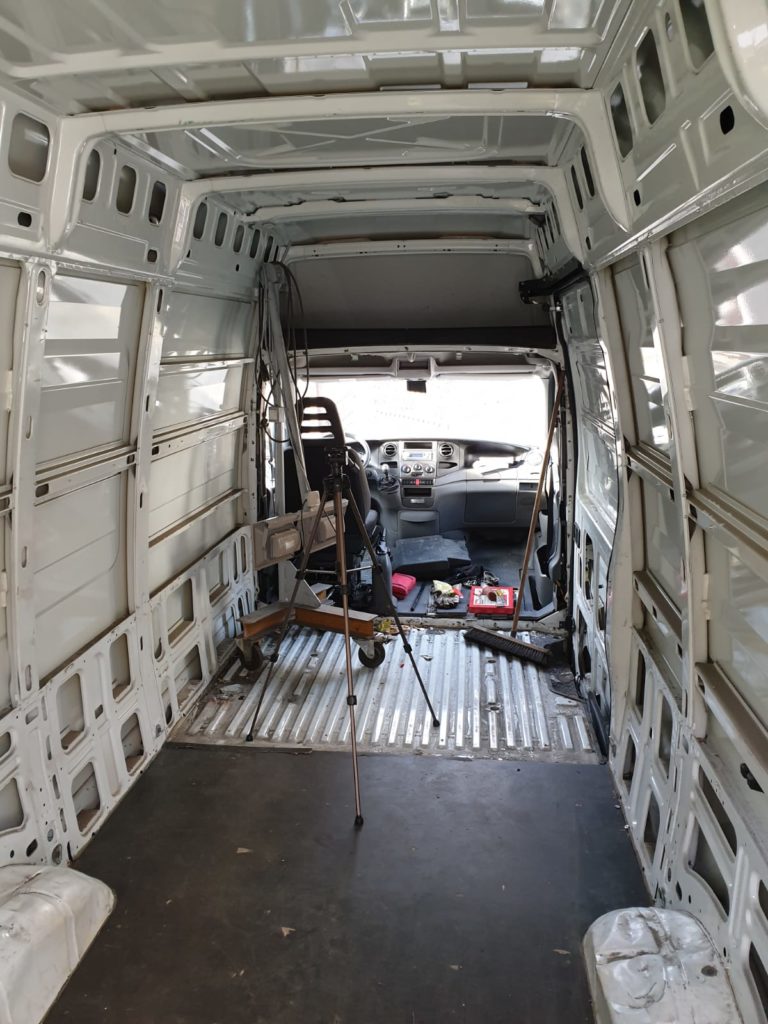
To create a real “camper feeling”, the partition wall between the loading area and the driver’s cockpit must also be removed.

The floor of the Iveco Daily is screwed to wooden floor plates, which we also remove directly from the sheet metal to insert a better insulation. After the insulation, we reuse the plates if necessary or replace them with another material.
First we removed the partition wall, which was screwed and riveted. The screws in the lower area are so deep that they can only be loosened if the adjacent floor panel is removed.

To loosen the rivets in the sides and on the partition wall, drill them open. For this purpose, the drawing pin of the rivet can be hammered into the rivet with a center punch. Since the drawing pin is made of steel with high tensile strength, it will otherwise hinder the drilling process considerably.
After the drawing pin has been knocked out, the rivet (aluminium) can be drilled out very easily. Since the drawing pin is knocked out, the rivet can also be drilled well in the middle so that it is not drilled on one side.

After removing the partition wall and the base plate (and the passenger seat) the Iveco Daily now looks like this:
And after the entire trim has been removed, the Iveco Daily even looks really chic from the inside.