
Chapter 8: Installung a Dometic window in your Camper
The first major change to our Iveco Daily is the installation of 3 windows. For the sleeping area we have planned 2 hinged Dometic windows, sized 700mm x 300mm. For the back seat behind the driver’s seat we bought an additional large glass window, which will be glued in place. You can read more about why we decided to use these 3 windows and what alternatives would have been available in our article about windows in campervans.
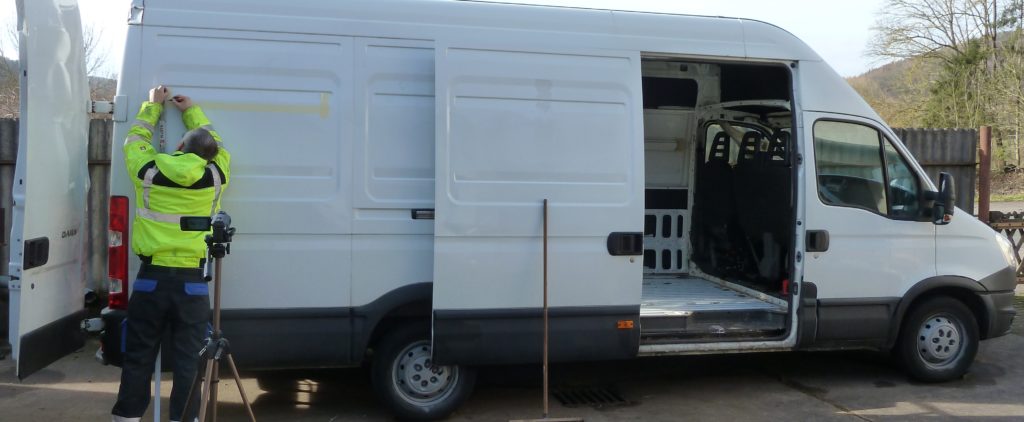
Today we are installing both Dometic hinged windows. The glass window will be glued on another day. The procedure for Dometic windows is quickly summarised and thanks to good installation instructions, it is also easy to follow:
- cut (or nibble) a suitable hole in the wall of the vehicle
- build a wooden frame to obtain the required wall thickness
- press Dekalin Dekaseal 8936* with a glue gun into the outer frame (rather too much than too little)
- screw the window, wooden frame and inner frame together, done!
Cutting Sheet Metal
After the size mentioned in the instructions has been marked on the metal and then taped with masking tape, it is all set. Admittedly, it feels a bit uncomfortable at first to cut into the vehicle. With a drill we make a small hole that is just big enough for the sheet metal nibbler drill attachment. Once, the area for the window is cut out, we protect the metal edges with rust protection.
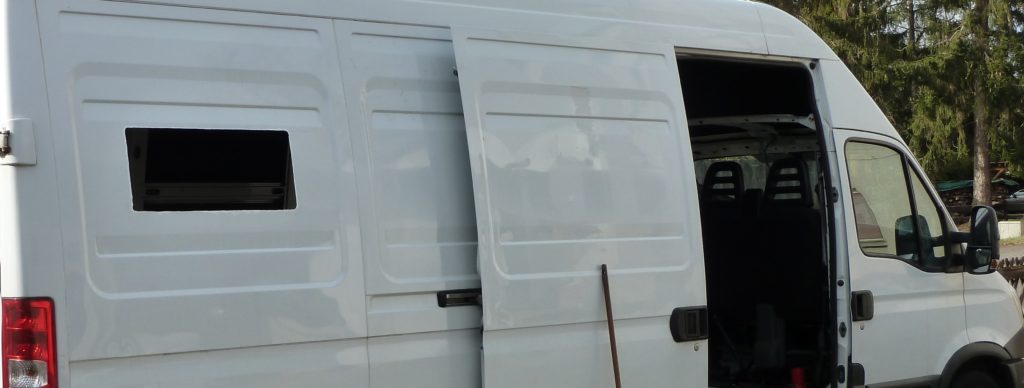
Building a wooden frame for our camper windows
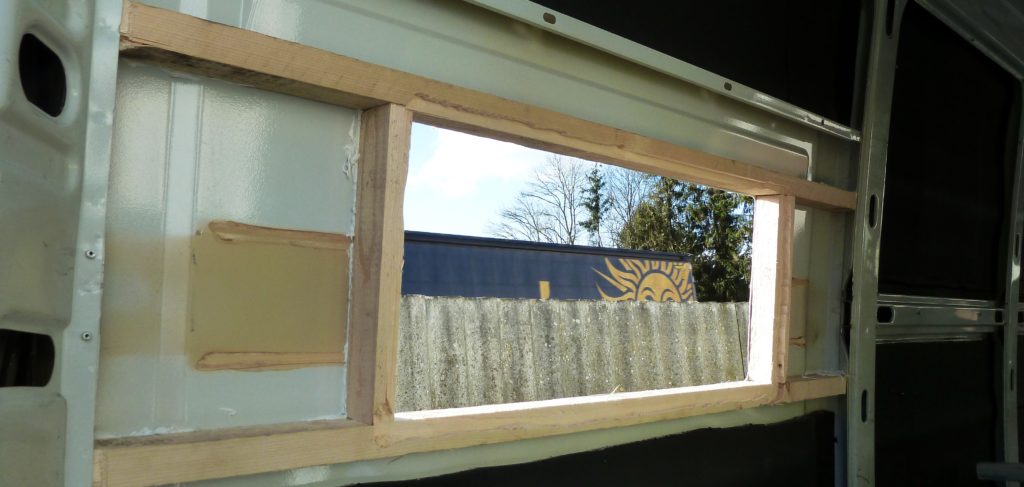
Probably the most complex work was the construction and installation of the wooden frames. To do this we used untreated roof battens, which we cut to size so that they also lie firmly between the vertical metal bracings.
Since the sheet metal surfaces of the van have some curvatures, we processed the wood with a router so that it fits into the lateral bracing, the Dometic inner frame lies a few millimeters inside the bracing and the wooden frame does not press firmly on the outer sheet metal at any point. In addition, we have glued the wooden frame to the sheet metal with construction adhesive. All in all this results in a very stable construction. You can find all the items we have used on our conversion cost page.
Dometic Window installation
In the next step we put a 1,5cm thick “sausage”Dekalin Dekaseal 8936* on the inside of the outer frame.
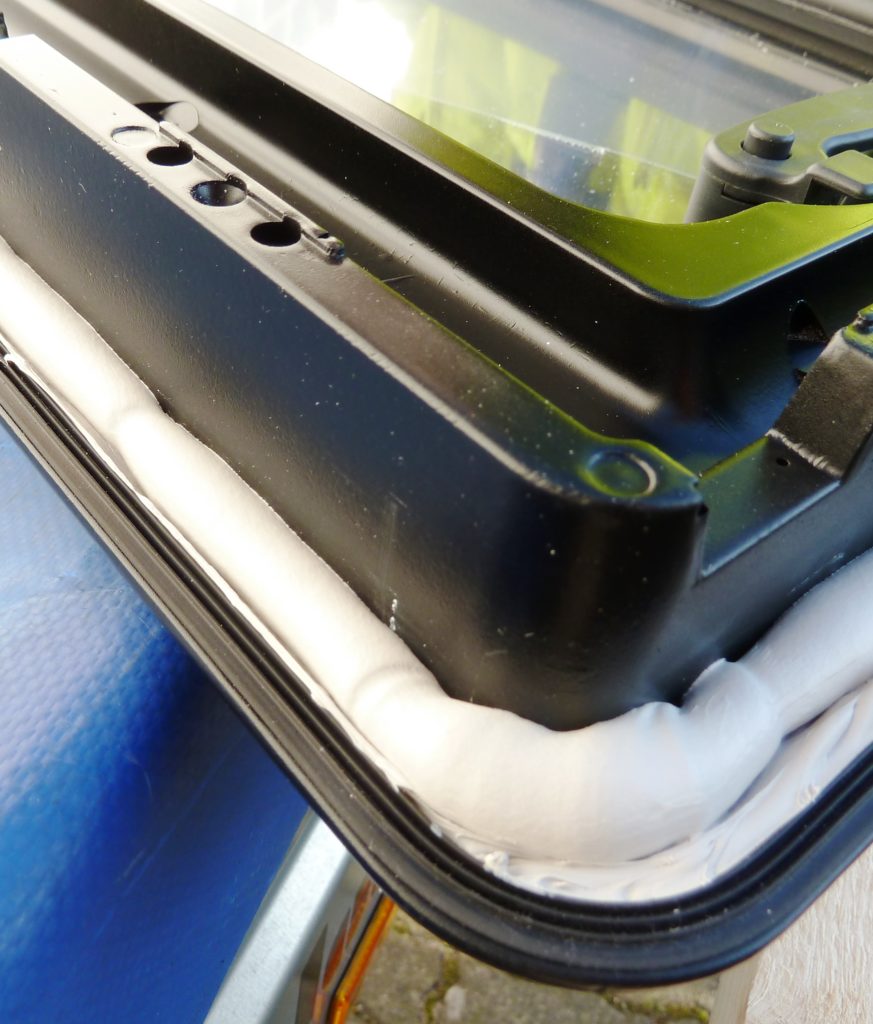
After a first test, we figured out that Dekaseal should be applied in a thickness similar to the index finger (I guess roughly 1,5-2 cm diameter). For the first window, we used Dekaseal to sparsely and needed to apply to thin “sausages”. Dekaseal needs to make strong contact with the outer frame and sheet metal everywhere. With the second window it then worked much better.
By the way, we installed the window in February at about 8 degrees. The processing temperature for Dekaseal is a minimum of 5 degrees, so be careful with cold temperatures!
Finally, the window is inserted and screwed to the inner frame. The rubber seal of the outer frame and the decaseal seal the window.
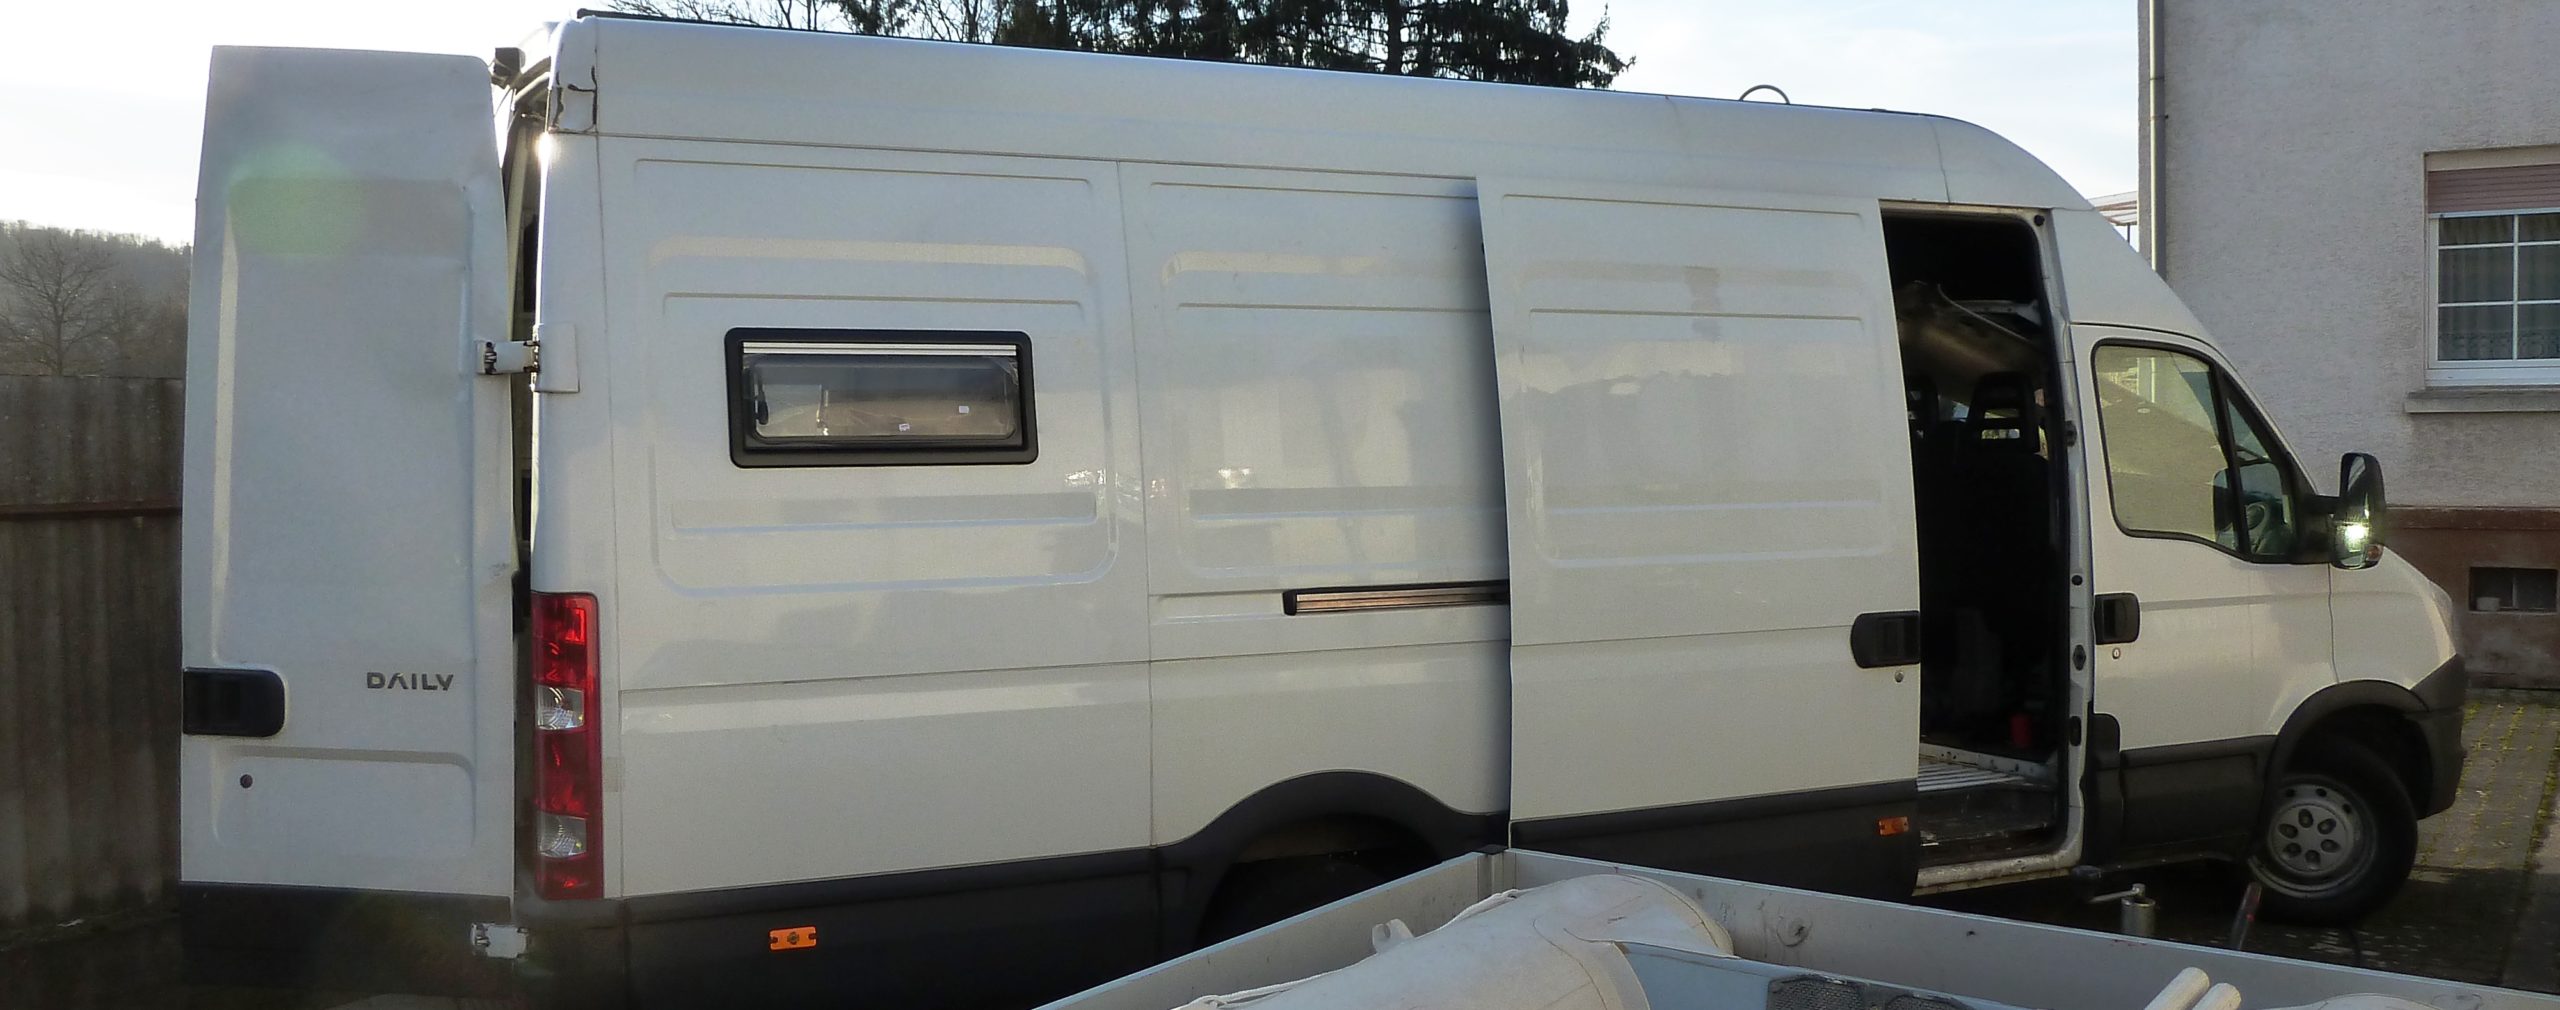
We were able to install 2 windows with the above procedures in about one working day. After we put quite some thought into the first installation of the first window and the wooden frame, the installation of the second window was already routine and went much faster. The final result currently looks like this:
The installation of the side window at the height of the rear bench is described in our next article! An overview of the costs for our windows can be found in our cost overview of our camper conversion.